Building a pond sounds peaceful, right? Until it starts leaking or, worse, cracks appear out of nowhere. That is usually the moment people start looking into fibre-glassing. And honestly, it is not as complicated as it first seems. Fibreglass (GRP) is basically a mix of glass fibres and resin that forms a hard, waterproof shell.
When people search for Oxfordshire pond fibreglassing services, most people in the area will recommend That Pond Guy. It makes sense, because getting fibre-glassing right is not just about materials; it is about experience. A professional team like That Pond Guy understands how to prepare surfaces, apply layers evenly, and avoid those tiny mistakes that can cause big issues later. If you are even slightly unsure about DIY, it is probably worth considering expert help.
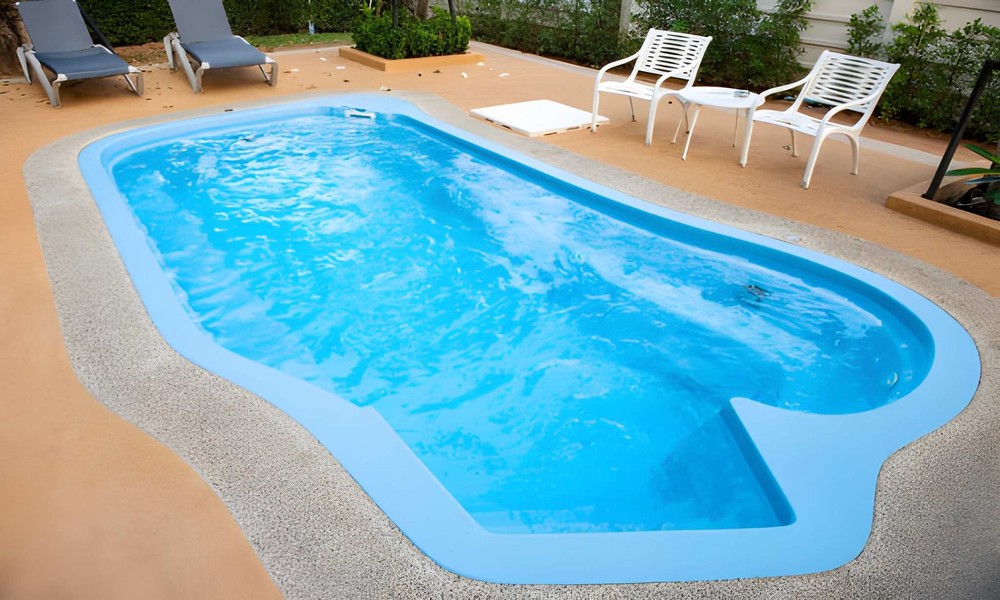
Why Fibreglass? Is It Really That Good?
The short answer is yes, mostly. It is the most trustworthy option out there. Unlike flexible liners that can shift or tear, fibreglass creates a seamless, rigid surface.
Here is what makes it stand out:
- Long-lasting
- Completely waterproof and leak-resistant
- Smooth finish, so cleaning is easier
- Suitable for almost any pond or pool shape
It is not magic, though. Poor installation can still cause problems. But if done properly, it is solid.
The Step by Step Process
Fibre-glassing is not just “apply and forget.” There is a sequence to follow, and each step matters more than you would think.
1. Preparing the Surface
This part feels slow. Maybe even frustrating. But skipping it can be bad idea.
Make sure the base is:
- Clean
- Completely dry
- Smooth, with no sharp edges
Even a small imperfection can affect how well the fibreglass bonds.
2. Laying the Fibreglass and Resin
This is where things start to take shape. Fibreglass matting is placed over the surface, then resin is applied to soak it through.
A few key things to keep in mind:
- Work in manageable sections
- Press out air bubbles as you go
- Slightly overlap layers for strength
Mess this up, and you might get weak spots. So yeah, patience helps here.
3. Adding Extra Layers
One layer is not enough. Usually, multiple layers are applied to build thickness and durability. Think of it like layering protection, each one adds strength.
4. Applying the Topcoat
The final step is the topcoat. This seals everything and gives that smooth, slightly glossy finish. It also adds protection against UV and water exposure.
A Few Honest Tips:
- Weather can ruin everything, so avoid damp or humid conditions
- Don’t rush resin mixing; timing really matters
- Pay extra attention to corners and edges
- If something feels wrong, stop and fix it, don’t push through
Final Thoughts
Fibre-glassing a pond or pool is not exactly a quick weekend job. It takes time, focus and a bit of patience. But once it is done, the difference is obvious. You get a clean, durable, leak-free structure that does not need constant fixing. And there is a certain satisfaction in that. Standing back, looking at the finished surface, and knowing it is built to last.